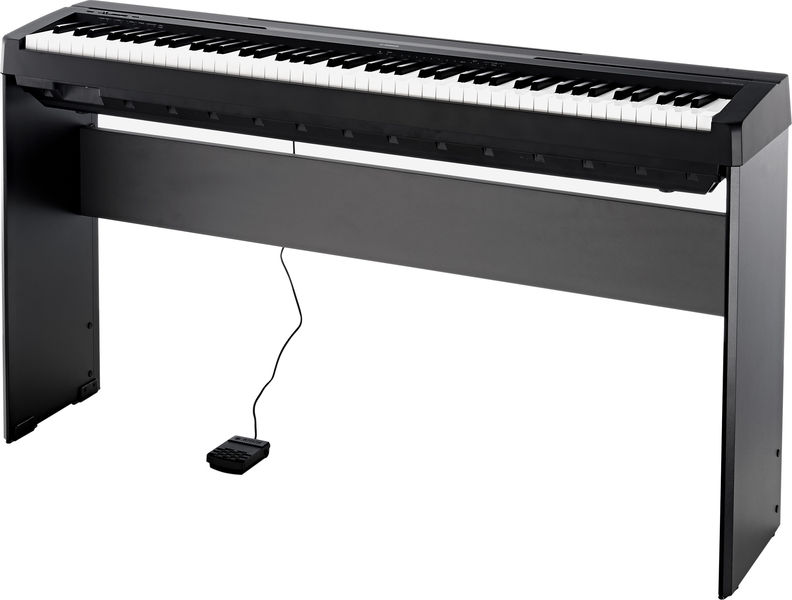
Hi there! So my first digital piano was an Alesis Recital Pro; I was super happy with it when I got it, but was pretty UN-happy when I found out there was not only no custom wooden stand / piano table for it – but when I went looking for some kind of generic wooden piano table, I was surprised to find that such a thing doesn’t seem to exist!
The Research
I am NOT a “handy” guy, so I looked online, in music stores, furniture stores for anything that would work – I had it on an X-brace stand that was fine with my old Casio keyboard (61 keys, non-weighted) but an 88 key fully weighted keys piano was pretty wobbly on that so I needed something solid.
So I was about to buy a piano table designed for a Yamaha for around $150 and then add a piece of wood on top to ensure my piano would fit, then looked at it and thought “That’s 3 pieces of wood, how hard can this be?”. So decided to try to make my own!

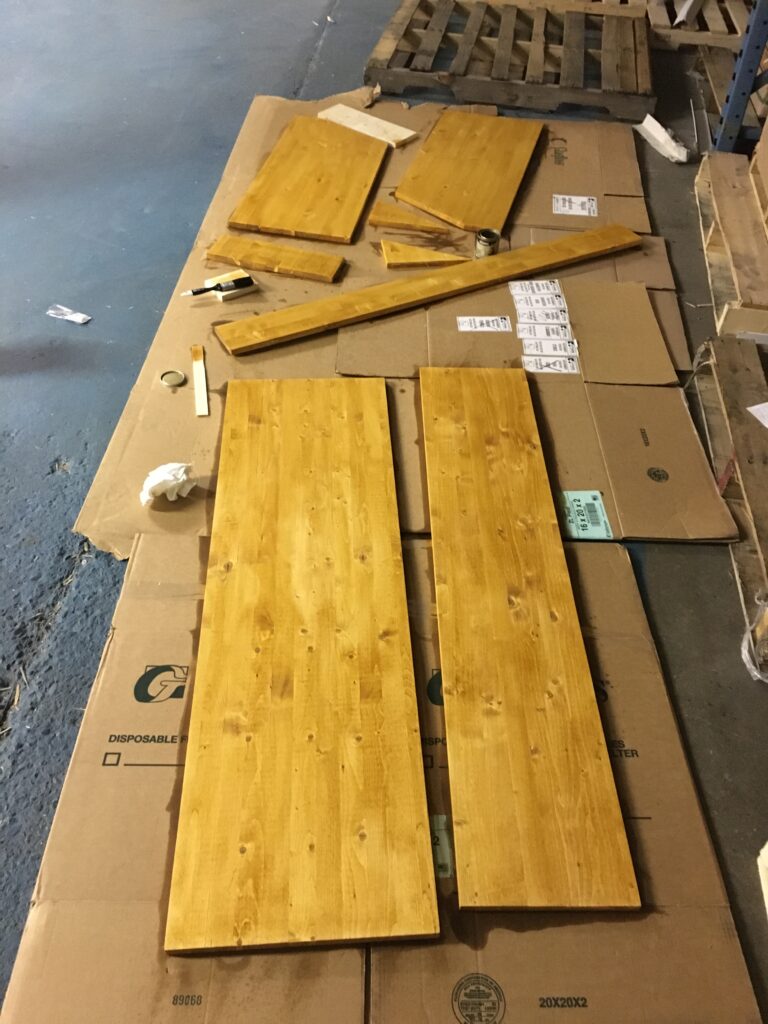
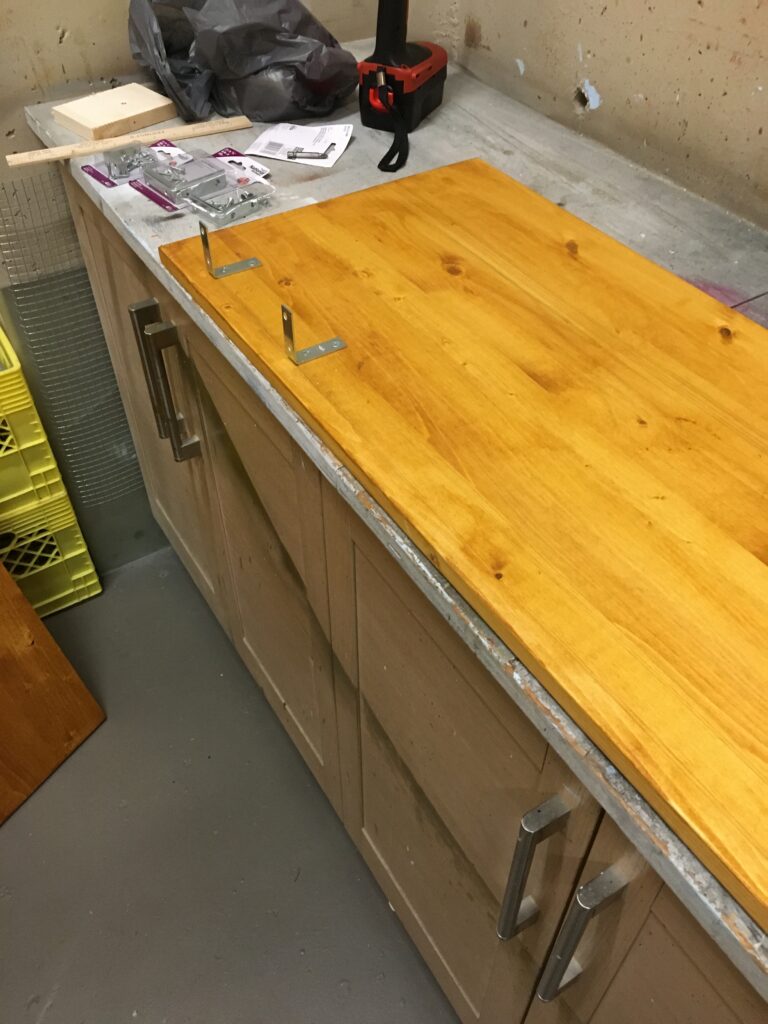
After consulting friends of mine who actually KNOW how to build things, the universal recommendation for someone like me was to look for some type of pre-finished shelving that would require minimum . . . well . . . skill to work with 🙂 So I found pre-finished pine from Home Depot that was perfect; you don’t need to sand, stain or paint it (but you can if you like). It was only about $80 for the 3 pieces I would need and they even do the basic cutting for you for free.
The Piano Table Plans
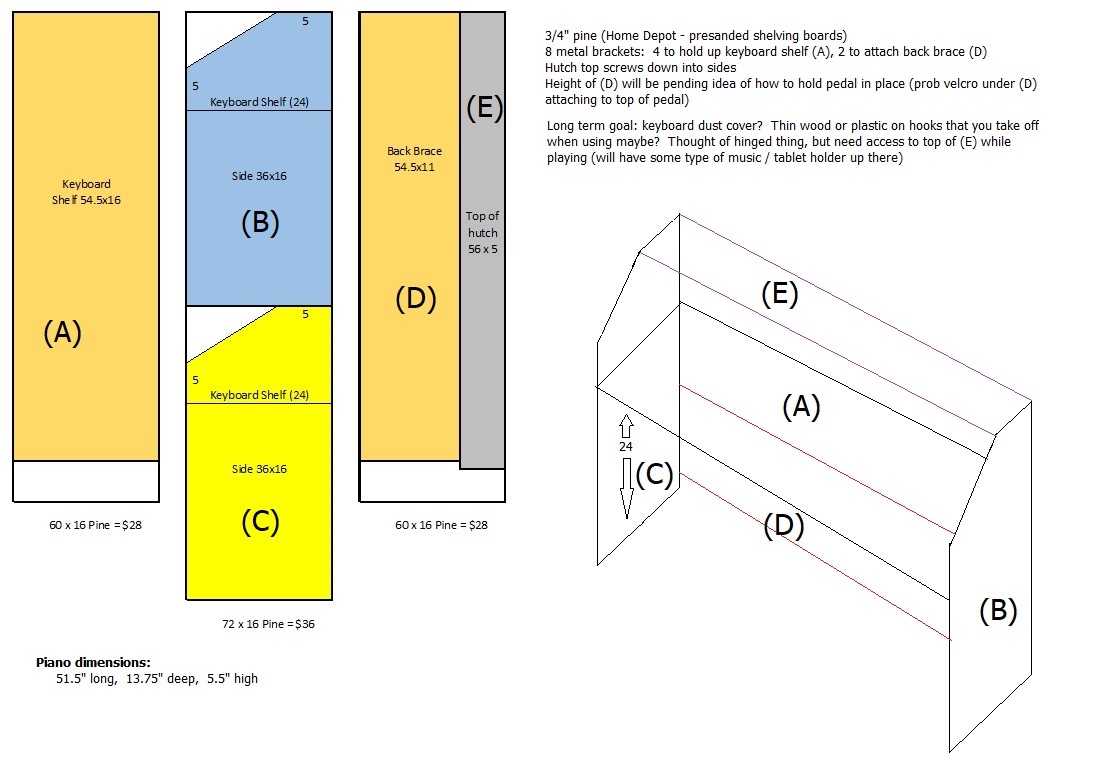
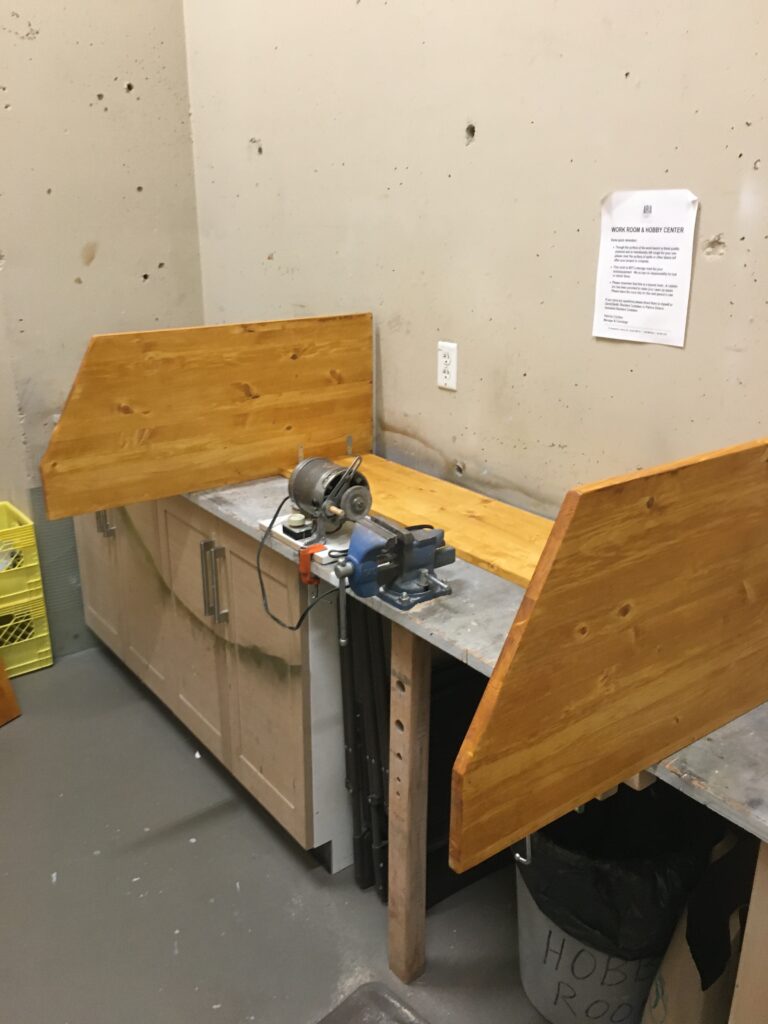
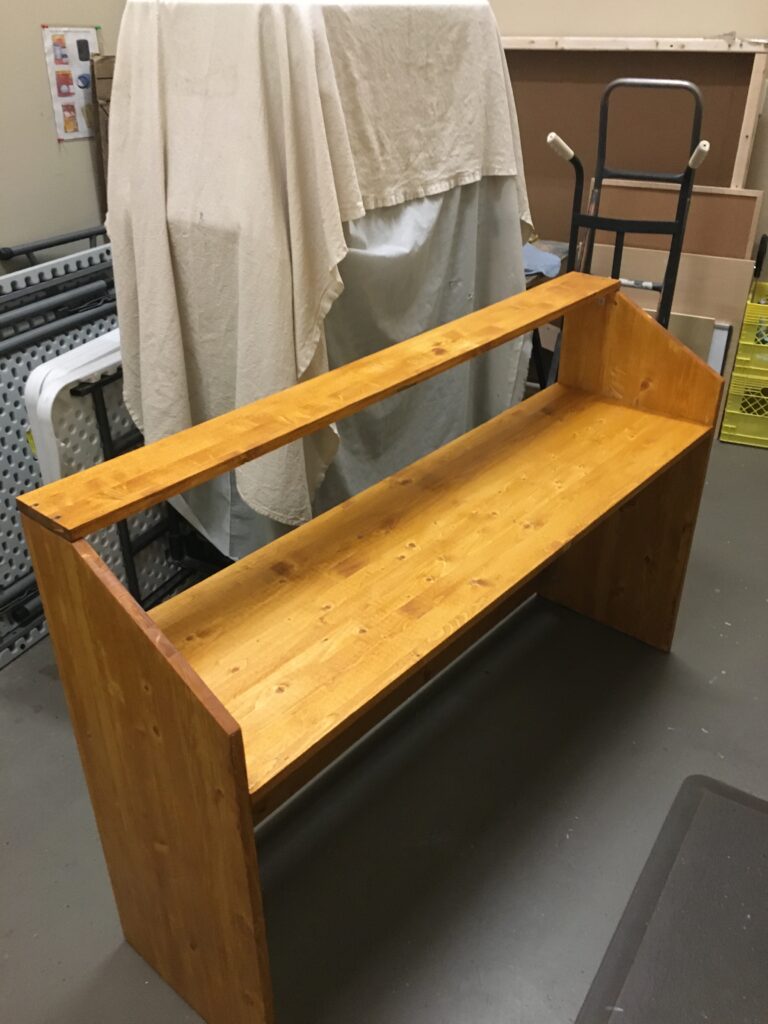
Originally I was thinking something simple like that Yamaha one only with a shelf for the keyboard, but then I thought a hutch wouldn’t be that much harder and would be super handy for holding music, iPad, etc so I came up with the plans above. I had to make sure I was careful with the height of the piano shelf (taking into account the thickness of the piano itself as well to try and get the keys themselves at the correct height (which for me was 29-30″ – so 24″ to the bottom of the shelf where the brackets would be plus the 3/4″ thickness of the shelf and the 5.5″ thickness of the piano came in just about perfect).
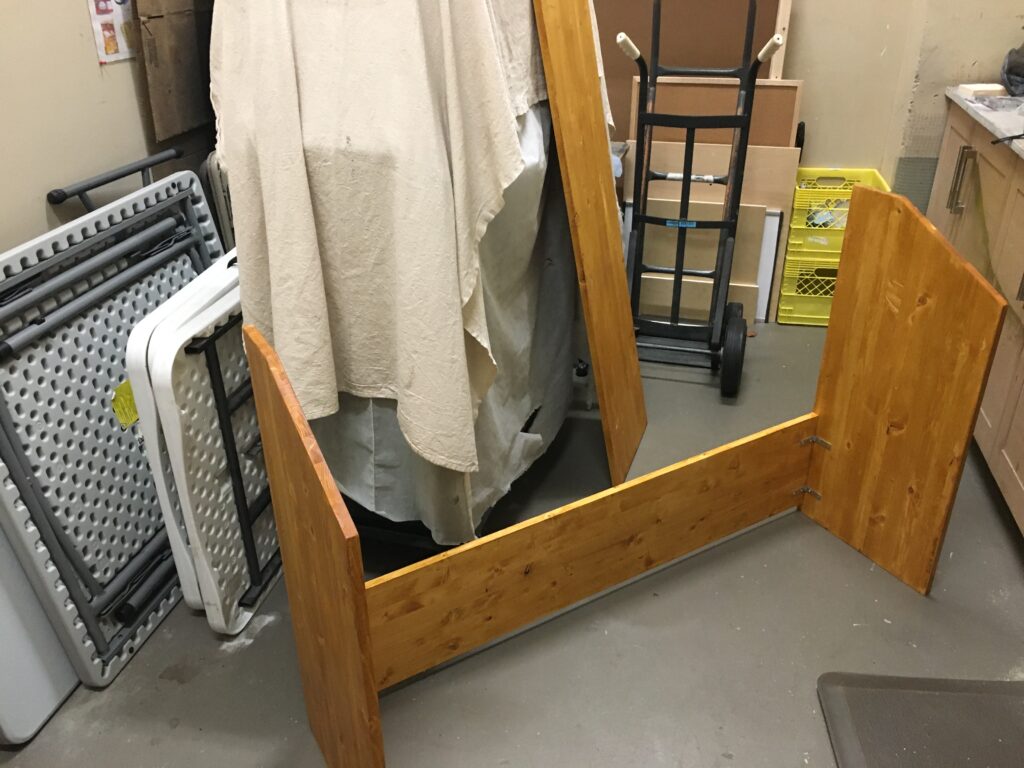
Home Depot wouldn’t do the angle cuts for the side pieces, but I talked (well . . bribed) a co-worker with sweet power tools at home to cut them for me in return for lunch one day.
The Stain “Incident”
Most of our furniture at home is oak coloured so instead of researching stain (which I knew nothing about other than – “cool! stain!”) I went out and bought a small overpriced can from a paint store. Turns out a) I was going to need WAY more, and b) I bought the kind of stain that requires varathane. As a result I ended up having to buy way more stain and varathane, and all of that ended up costing more than the wood (around $120!). I should have bought a stain that doesn’t require varathane and in a much larger size and I would have saved alot. That being said, it turned out awesome and I do love the colour; but if you know as little about stain as I do I highly recommend researching it first. And keep in mind alot of this type of prefinished shelving doesn’t require stain or paint.
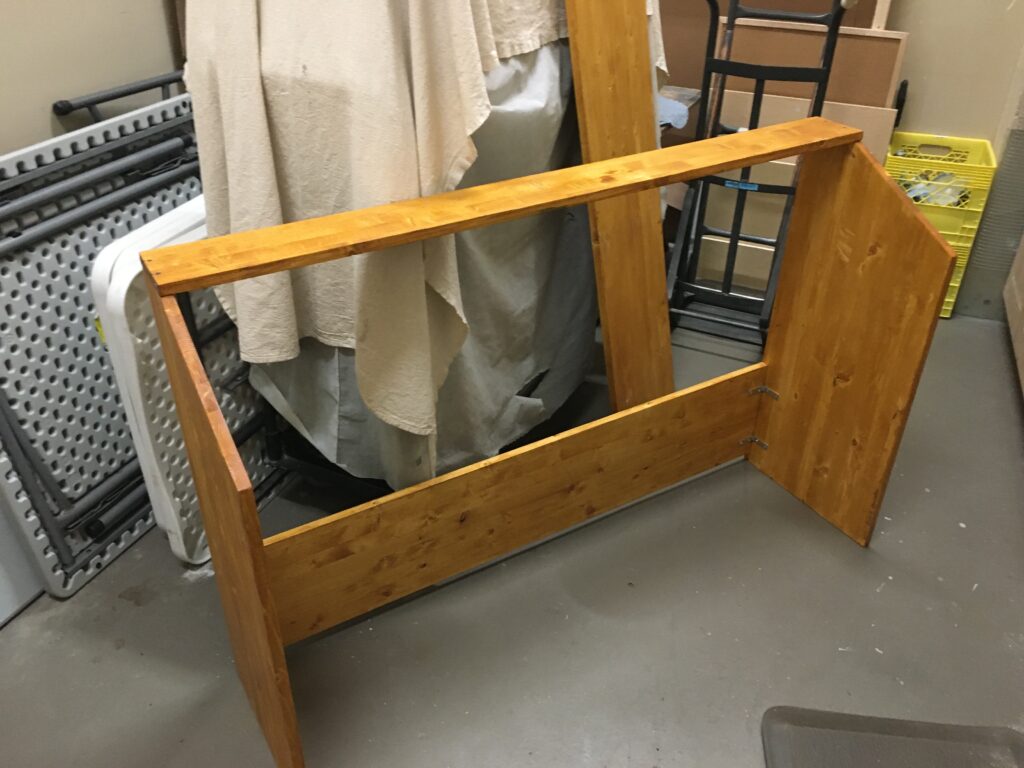
The Build
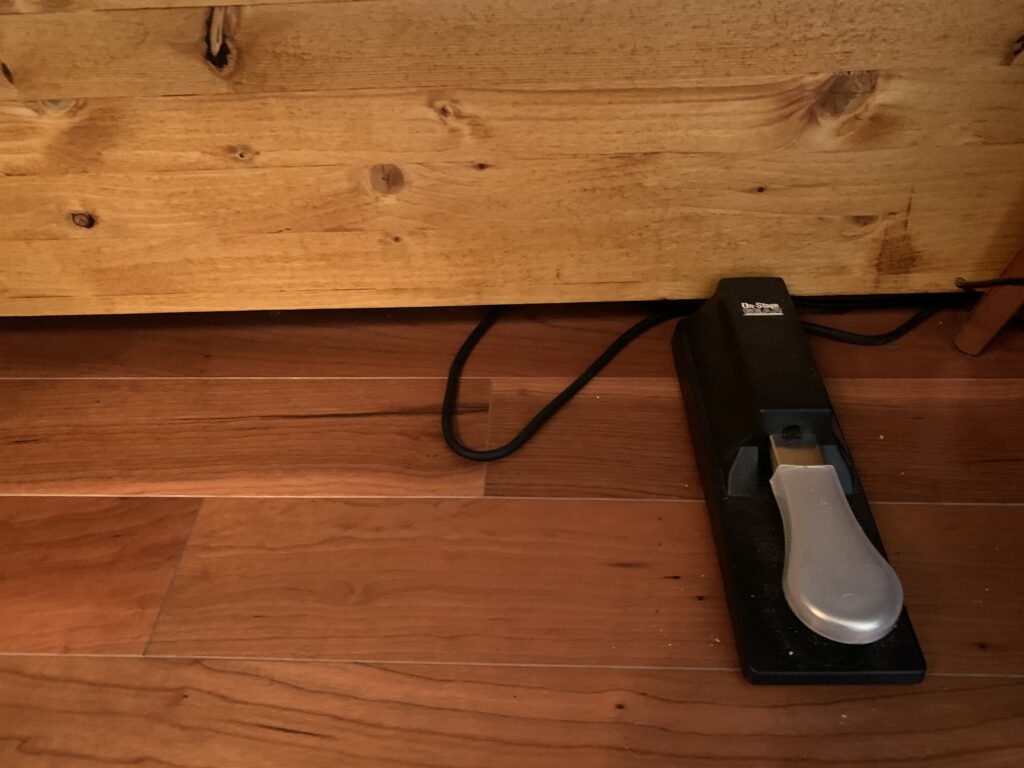
Step 1 was attach the back brace using some heavy duty brackets; I managed to get the back brace the right height off the floor so I could jam my foot pedal up against it and a little under. I was thinking at first of actually attaching the pedal with velcro but ended up not needing to – just having it up against the back brace keeps it from sliding around on the hardwood floor.
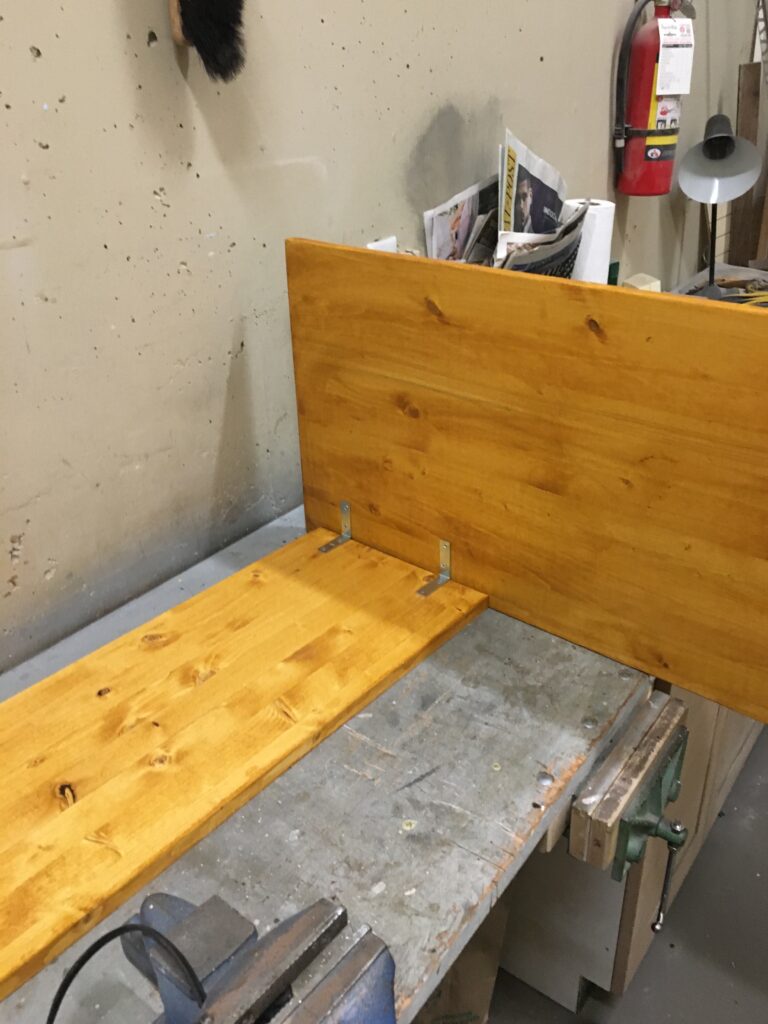
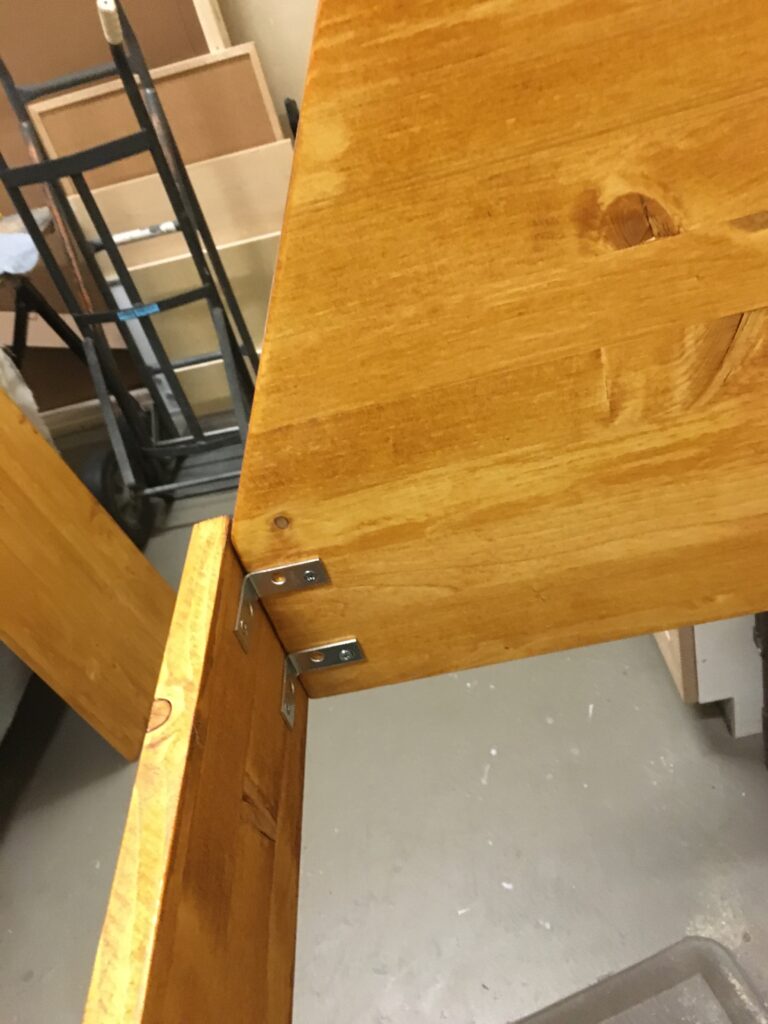
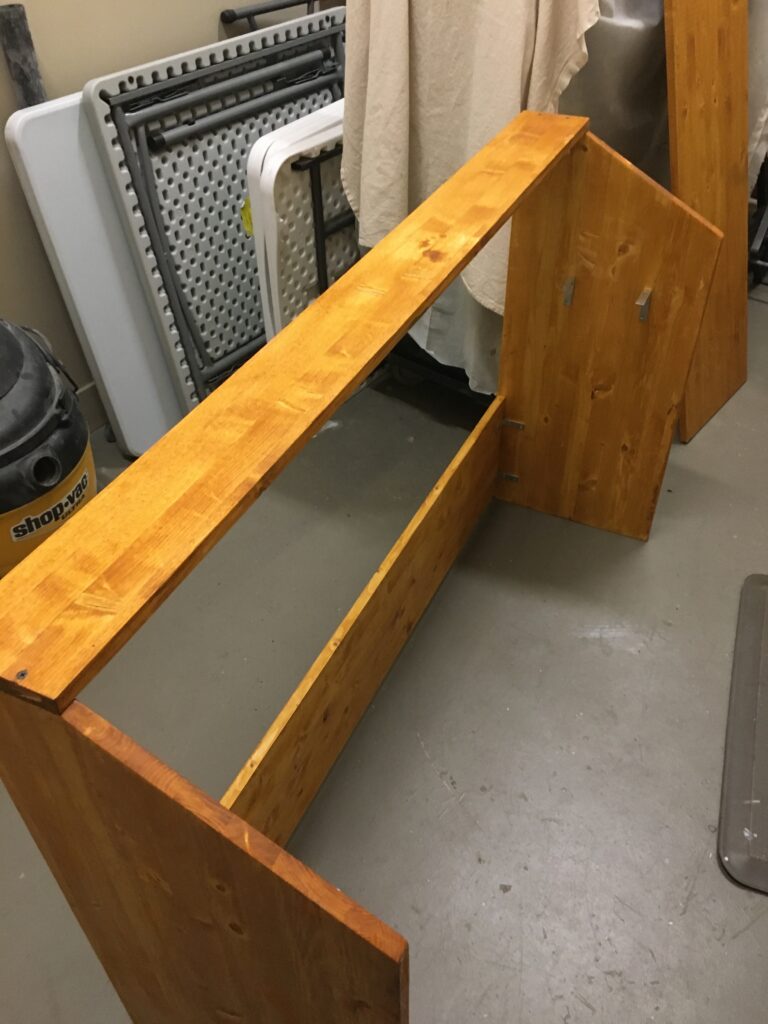
Step 2 was attaching the hutch to the top; some screws from the top into the sides and then some smaller brackets just for good measure.
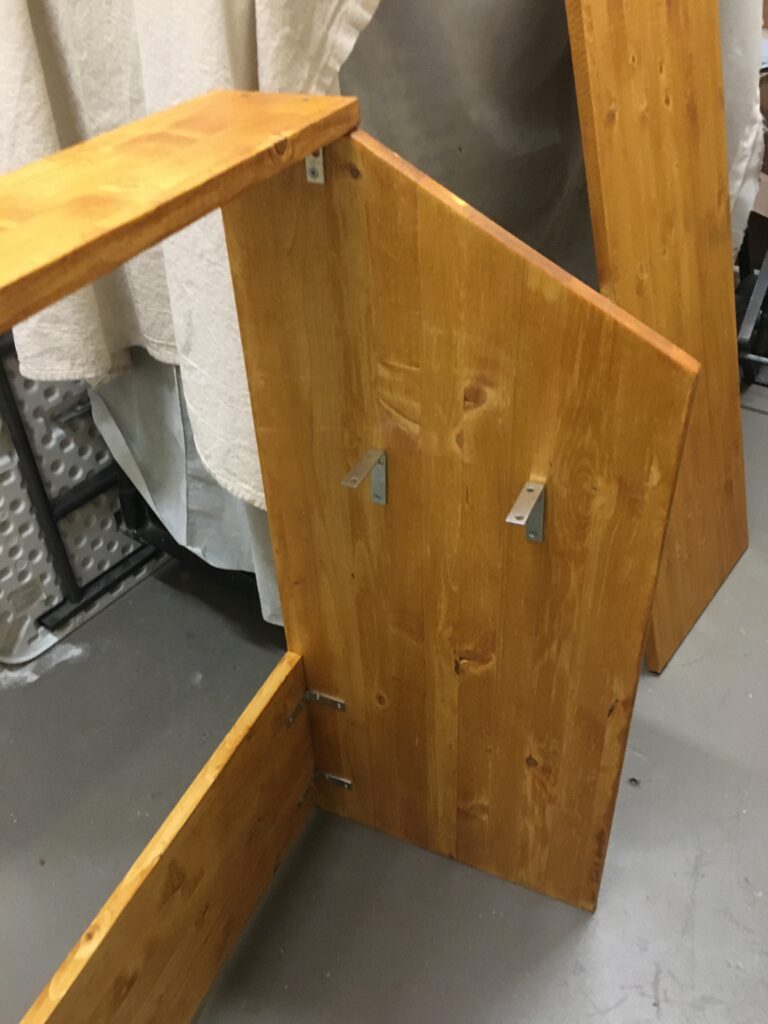
Step 3 was the hardest part; attaching the brackets for the keyboard shelf – I had to make sure I got this as level as possible so I took a lot of time measuring everything. And with one minor OOPS (nothing wood filler won’t fix) it turned out well.
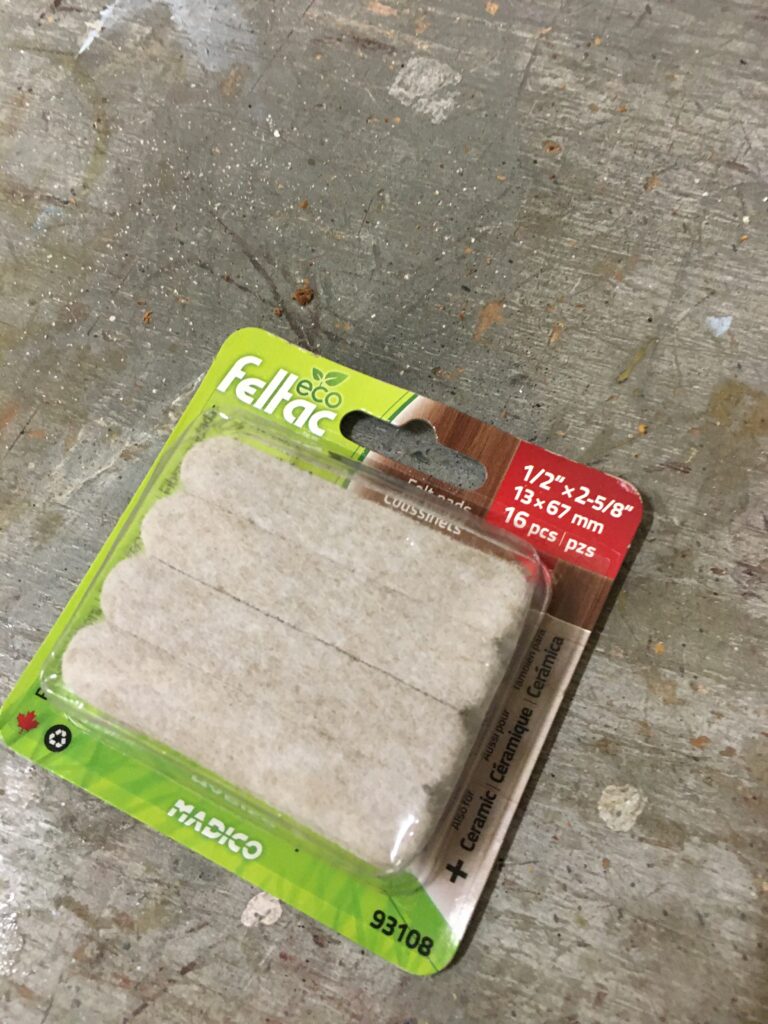
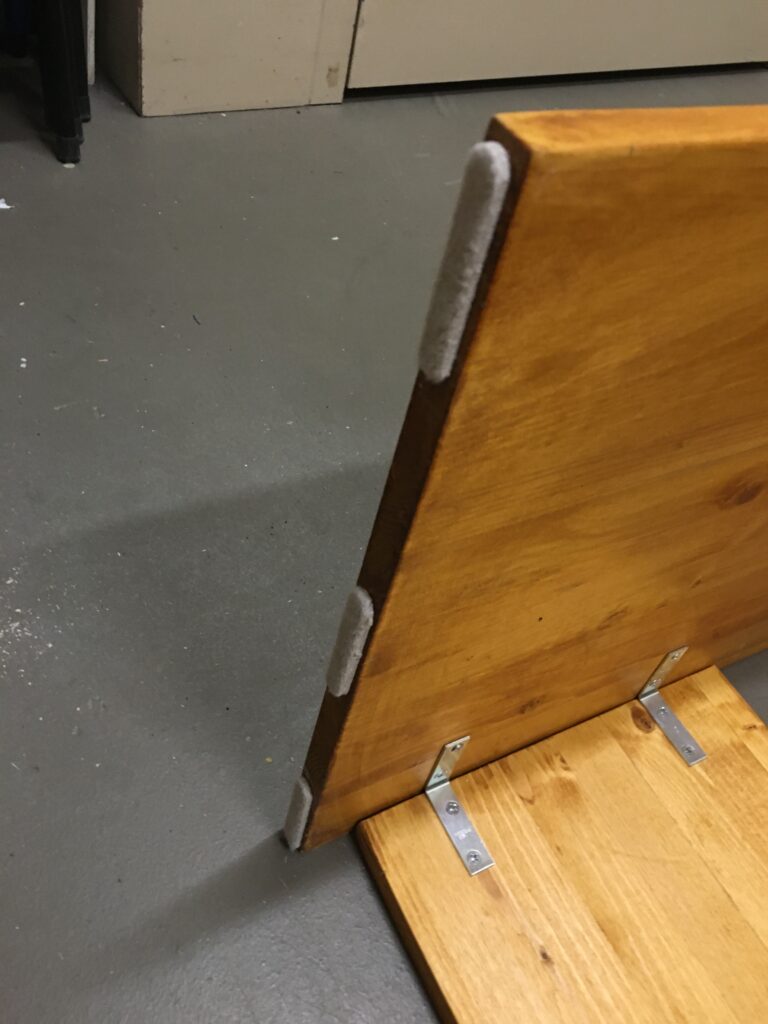
Step 4 was just adding some foam padding to the bottom “legs” to protect the floor, and it was all done!
Some Later Modifications
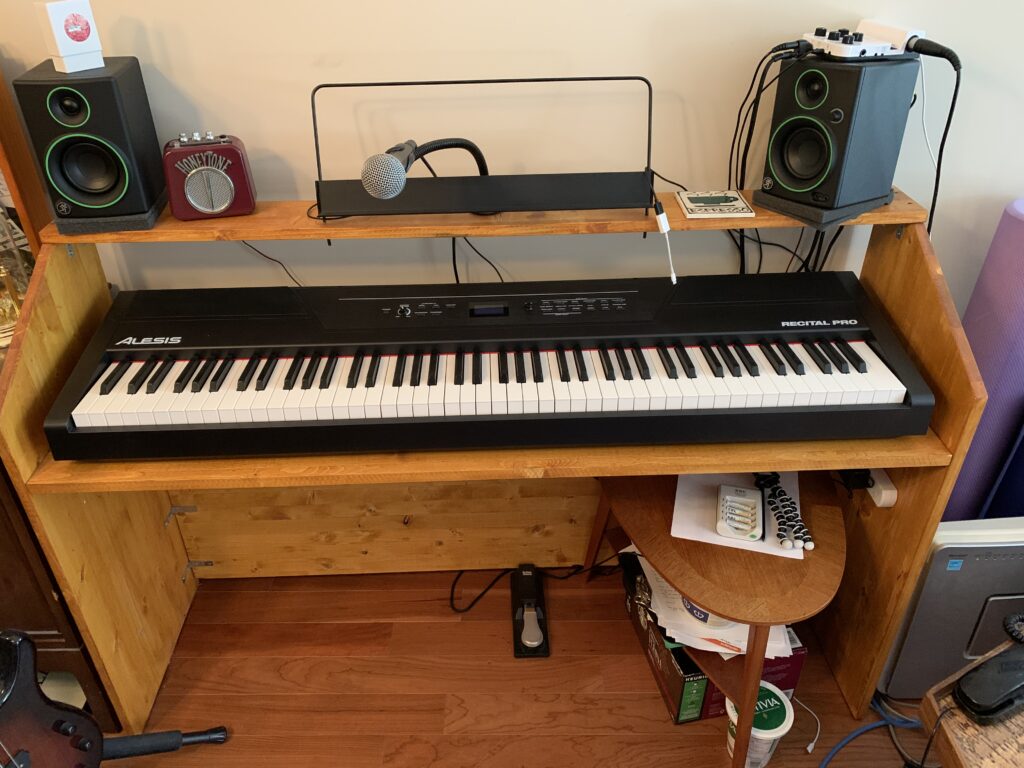
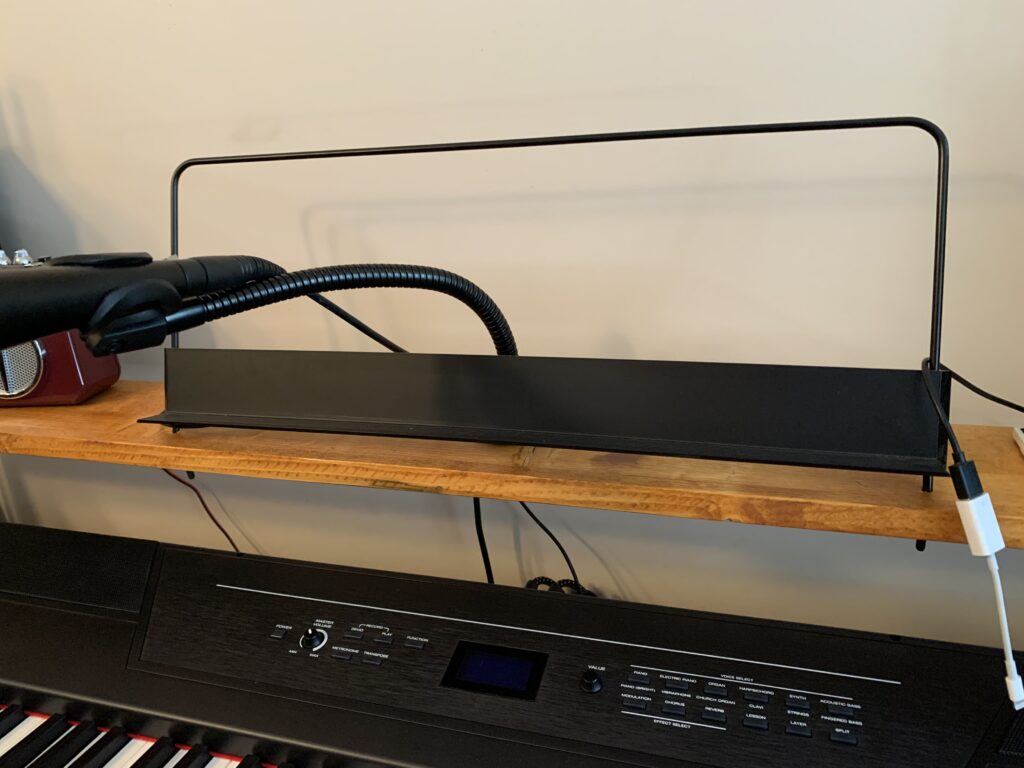
So I added some extras later on; the first was to take the music stand from my Alesis piano (just slides into 2 holes in the piano) and drill the equivalent holes in the hutch and that works awesome. Holds my iPad, music etc.
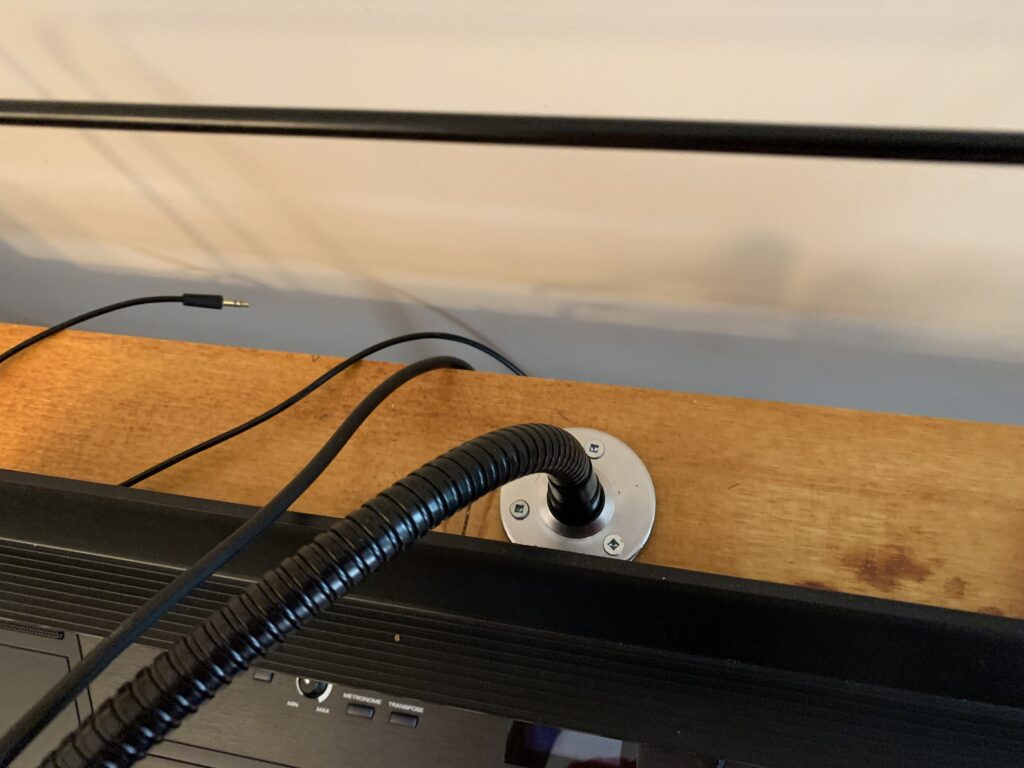
Then I bought a very handy mic mount – basically a disc that I screwed into the hutch so it’s super steady, then got a gooseneck for my mic.
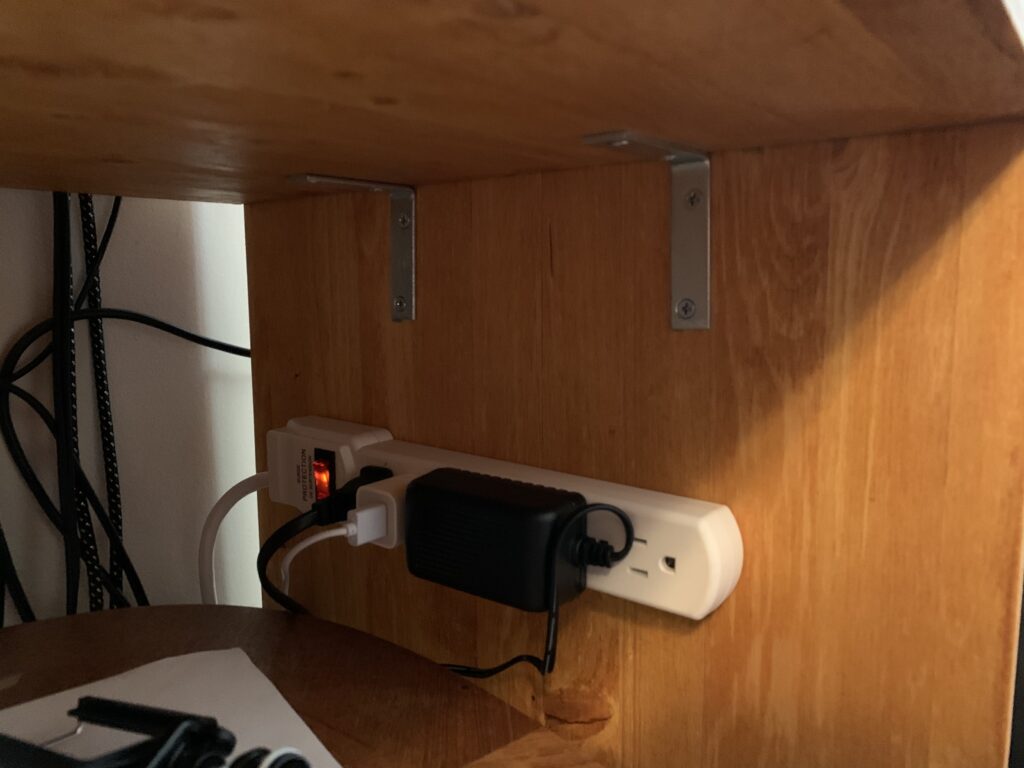
I mounted a power bar into the inside just to clean up the wiring a bit, and my hopes that the back brace would keep the pedal from sliding around too much worked out perfectly.
Final Comments
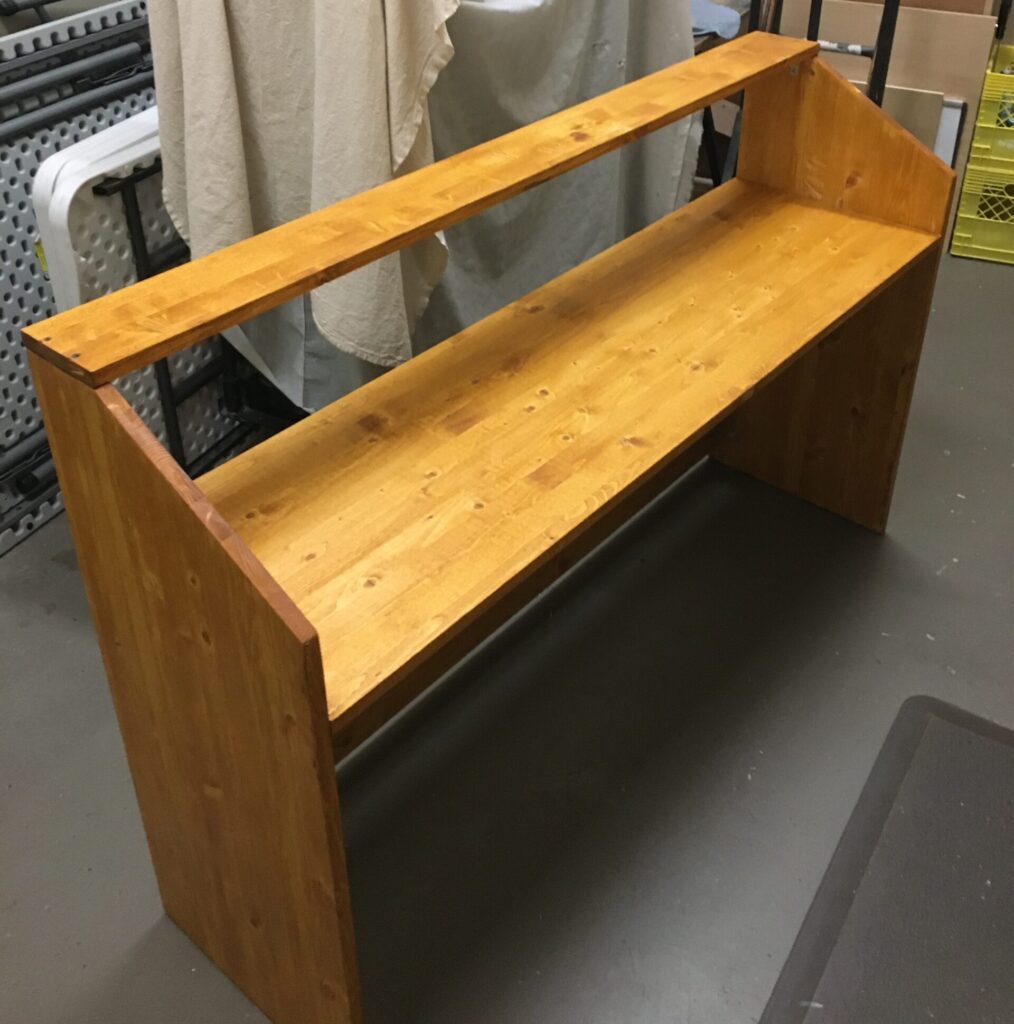
I’m super happy with the piano table I made; it’s super solid, including the hutch (which suddenly ended up with a lot more stuff on it than originally planned), and if I ever get a different piano, it will work for that too. Only potential change or upgrade that I might make in the future is to replace that table holding “stuff” with a cabinet of some sort to clean it up.
I’ve added my video of the build below:
Thanks for checking it out!
Don’t forget to check out my Piano Course Reviews for some awesome online training that worked really well for me, as well as my Equipment Reviews if you’re in the market for a new digital piano!